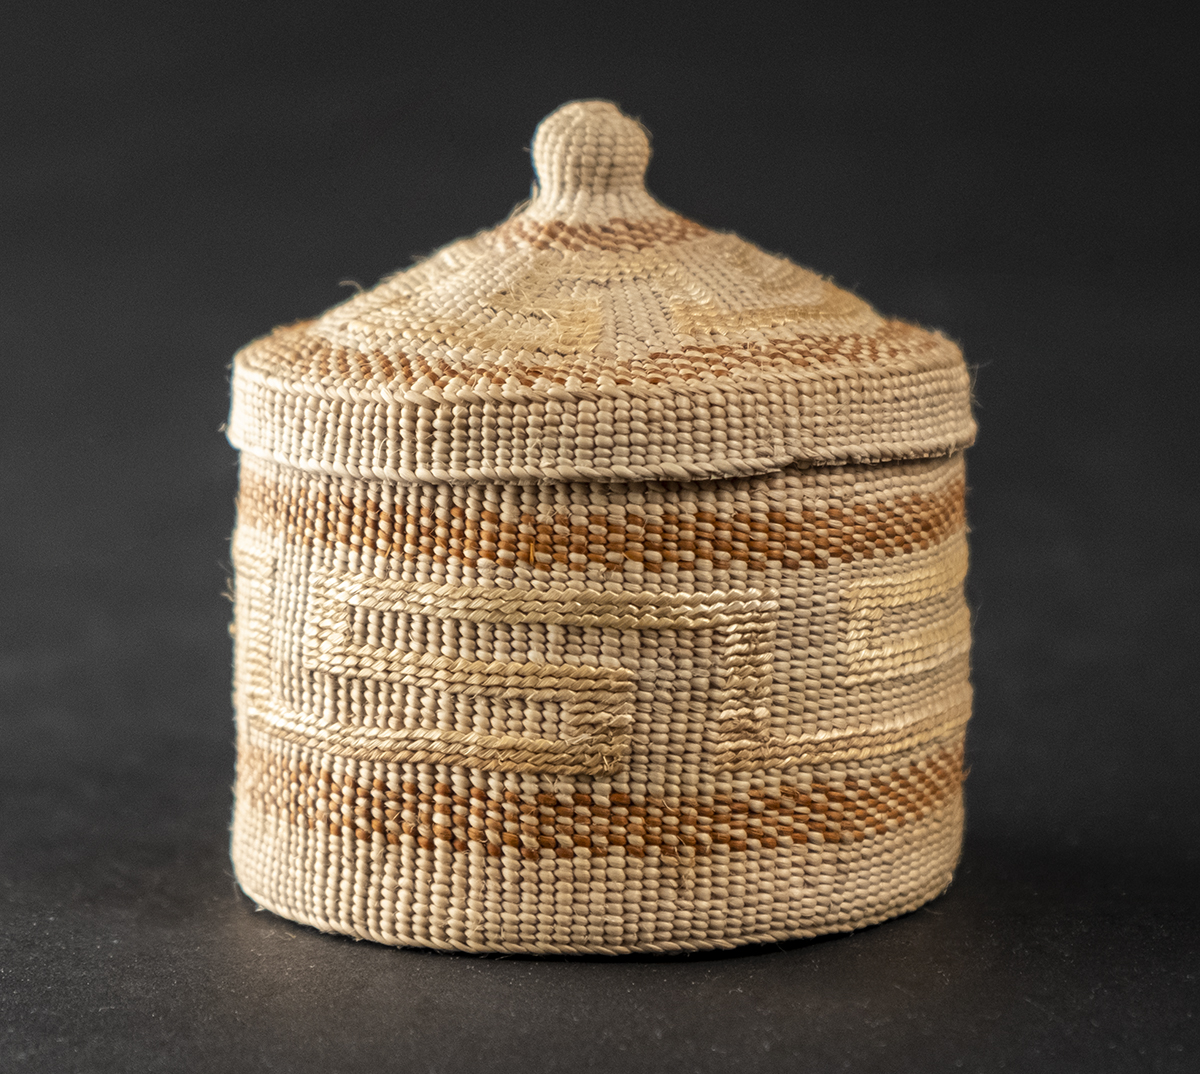
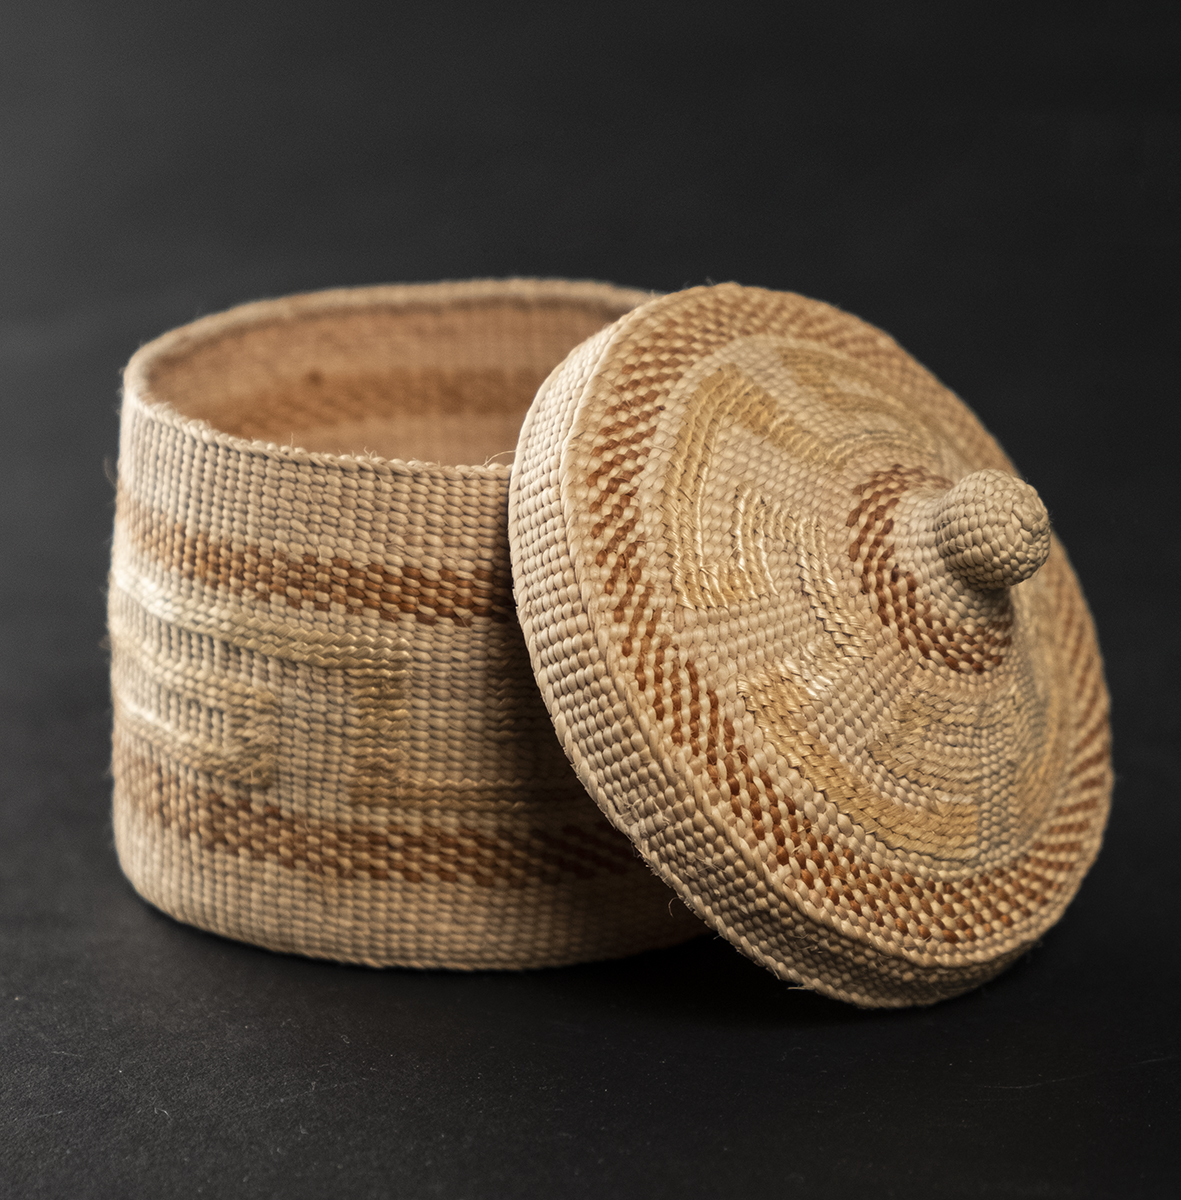
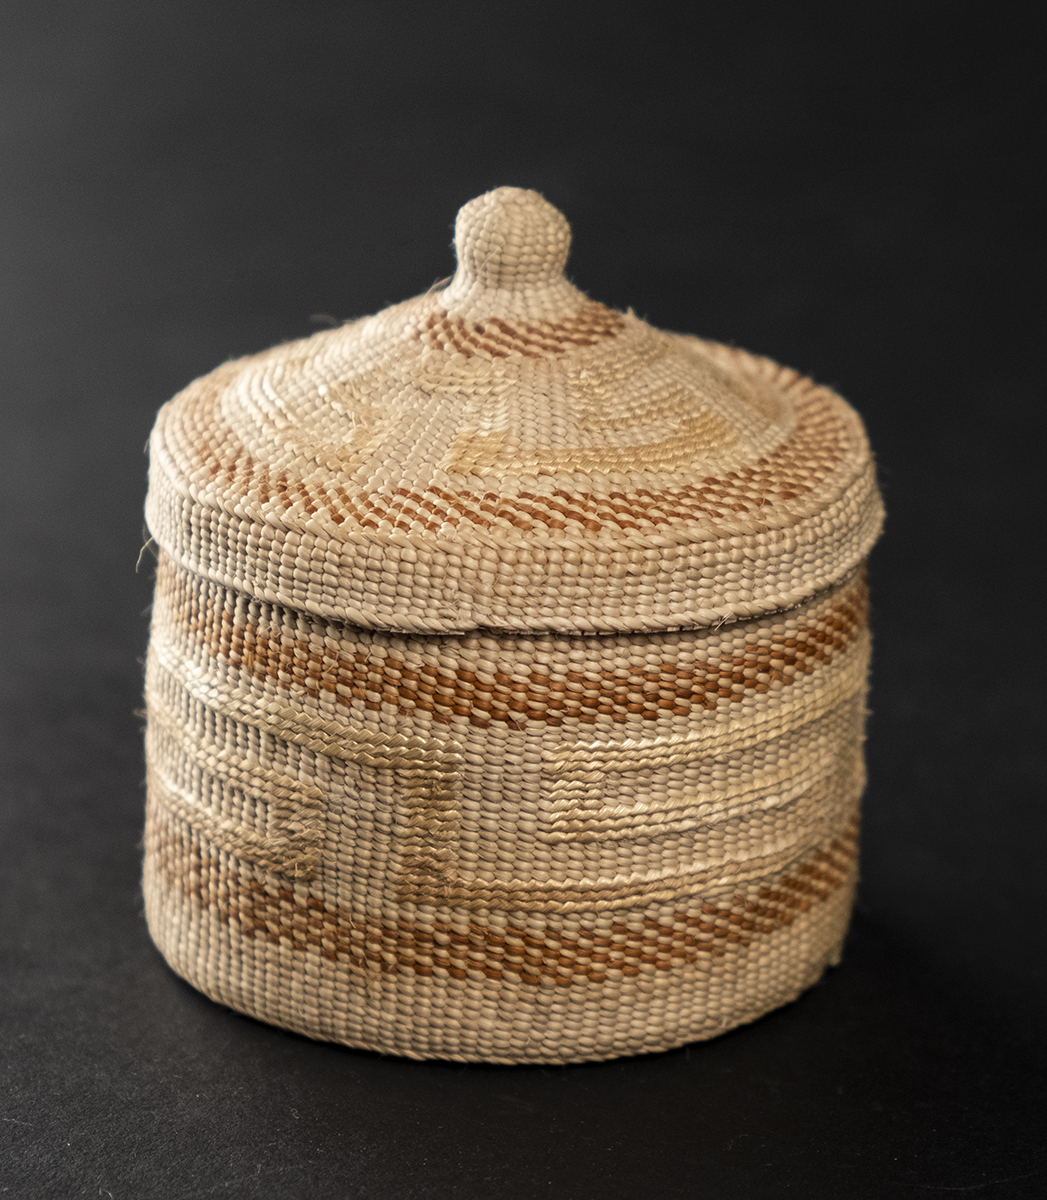
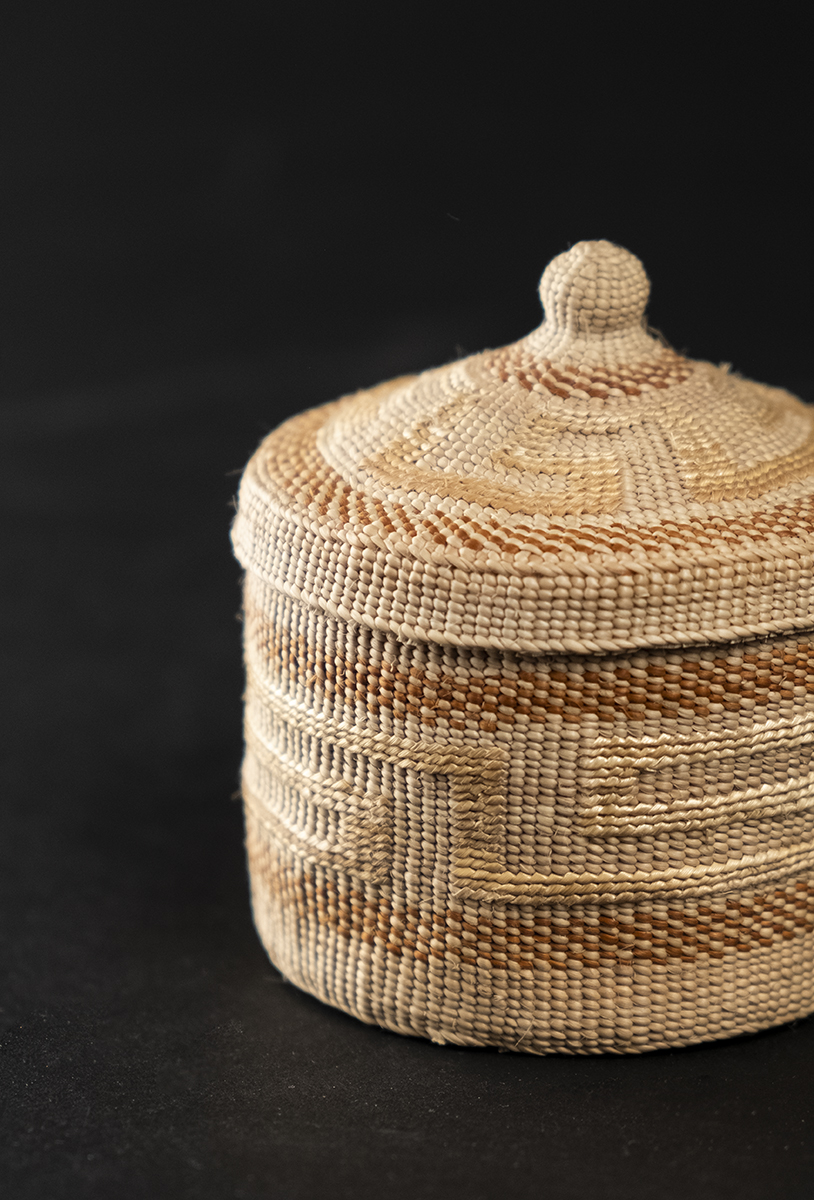
Cresting Wave Rattletop Basket
EXHIBITION:
Honoring Those Who Came BeforeThis is a rattletop basket, and the lid contains tiny pebbles of Haida Gwaii agates that rattle when shaken.
Learn about the process and art of spruce root weaving in Isabel Rorick’s own words:
Harvesting the Roots
The harvesting of the roots is the most strenuous part of the whole process. To begin with, we live on Hornby Island. It’s a small island two islands off of Vancouver Island in the Georgia Strait. So, getting to Haida Gwaii is a journey in itself. It takes two days and four ferries to get there. Because of family obligations or salmon, we don’t get to root digging right away.
When we do finally find the time to dig roots, we pack our lunch and digging equipment, including plastic bags, cotton gloves, sharp knives, matches and an axe. Our rooting place is located in the forested sand dunes of North Beach. We begin by finding a place that hasn’t been dug. We try to find an ideal spot clear of private property signs, underbrush like salal and other tree species like hemlock, alder, cedar, etc.
Before I begin digging, I say a prayer and I thank the spirits of the forest and the spruce trees. I think this is very important. I make a promise to put back the moss the best I can when I’m done. One time I didn’t keep my promise. For whatever reason, I was not able to cover up an area where I dug. Over the winter I had reoccurring dreams of the trees being very upset about having exposed roots during the freezing weather. I felt very bad. So, the next summer I made sure I found the spot. I made an apology and an offering and I covered up the earth. So now I make sure that I never leave the roots and the earth exposed.
I begin by making a test hole of about one square foot. If it’s a good place to dig there will be nice straight roots in that hole. I prefer to dig with bare hands as I enjoy the feel of the earth and the roots as I go along. The colours of the roots are beautiful. They are a cream colour to reddish brown to grey. They smell so wonderful. The largest root gathered is no larger than one’s little finger. The finest is thread-like. The longest roots are about twenty to thirty feet. On the rare occasion, we’ve pulled some sixty feet long. The shortest that I keep is about one and a half feet.
Sometimes Steve and I dig near one another maybe fifty to sixty feet apart. On occasion we’ll be digging towards one another, not knowing we’re following the same root until it pops out of the ground. On a good day, we dig for about five hours. We dig in the same area for two or three days. Once an area is finished, we make sure it’s covered up before we move on.
With our days harvest we leave the woods and head for the beach where we’ll roast the roots. We make a nice hot fire from the beach wood. I usually roast the biggest roots first, as they require a hotter fire than the fine roots. The roots are cooked one bundle at a time. The root is sufficiently roasted when it starts hissing and singing. With gloved hands, the root is quickly uncoiled and pulled through a split cedar stake that is anchored in the ground. Pulling the root through the split stake removes the charred skin revealing the beautiful glistening, fragrant roots. The roots are then placed in a plastic bag to keep them from drying out. After about two hours, we are done. We burn all the root skins and put out our fire. We leave the beach tired and hungry, but very happy for having had a successful day.
The day isn’t over yet. After dinner, the roots, still moist, are then split using a knife to start the cut. The root is gripped by the teeth and fingers and pulled. The root appears to have been made for splitting. It has a natural split where the root hairs grow. I’m sure there is a proper name or term for it, but I don’t know it. The roots are split once and tied in bundles before they are dried for storage. To ensure a year’s supply of roots we need to make at least five more trips to the forest. That’s about all my hands can handle anyway.
The Weaving Process
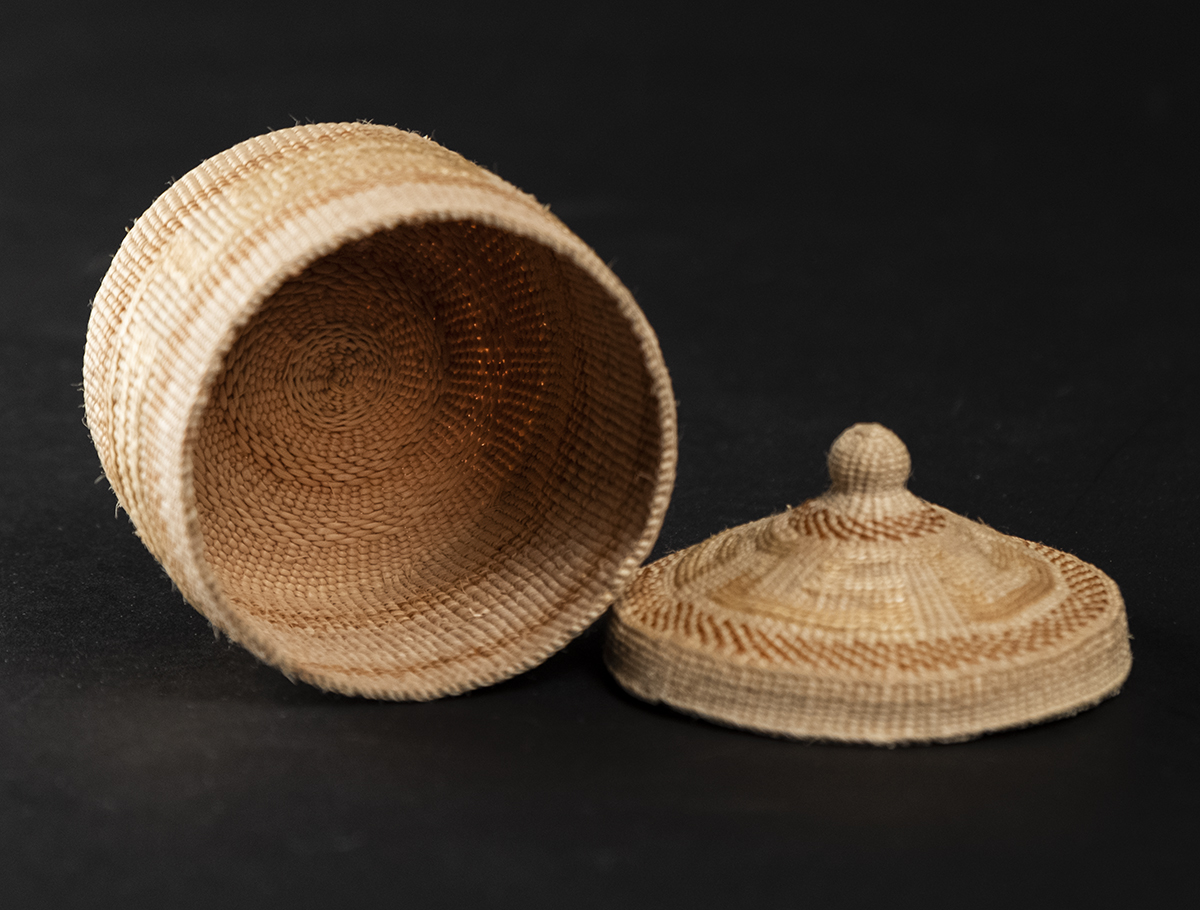
After I’ve decided what to make, I select the proper size roots for the piece. It takes several sizes of roots for a hat and it usually takes about three days to split a sufficient amount. It takes a day to split enough for a small basket, four inches in diameter by four inches high. Most of the roots have been already split once. Each half is split again. Thick roots may be split two or three times. The outer shiny part of the root is reserved for the visible part of the basket, the inner strips, or flats as I call them, are used for the framework, warp or “bones,” as one person referred to it.
Once split, the roots are trimmed and scraped to the proper thickness. The flats, or warp, are cut to the proper lengths. Once I have enough prepared, I start weaving. It takes about seventy-two hours or more for an open basket four inches in diameter by four inches high and about one hundred hours or more for a lidded basket the same size. It depends on the patterns I use. Obviously, it takes much longer if I use a complex pattern using false embroidery.
I use only natural dyes for my baskets. I don’t have a large colour range. I make black or grey from iron oxide from a rusty can or nails. Reddish brown is made from the bark of red alder. For the false embroidery designs, I use home grown, sun-bleached wheat grass stems and maiden hair fern stems usually collected by my Mother or Aunty Delores.
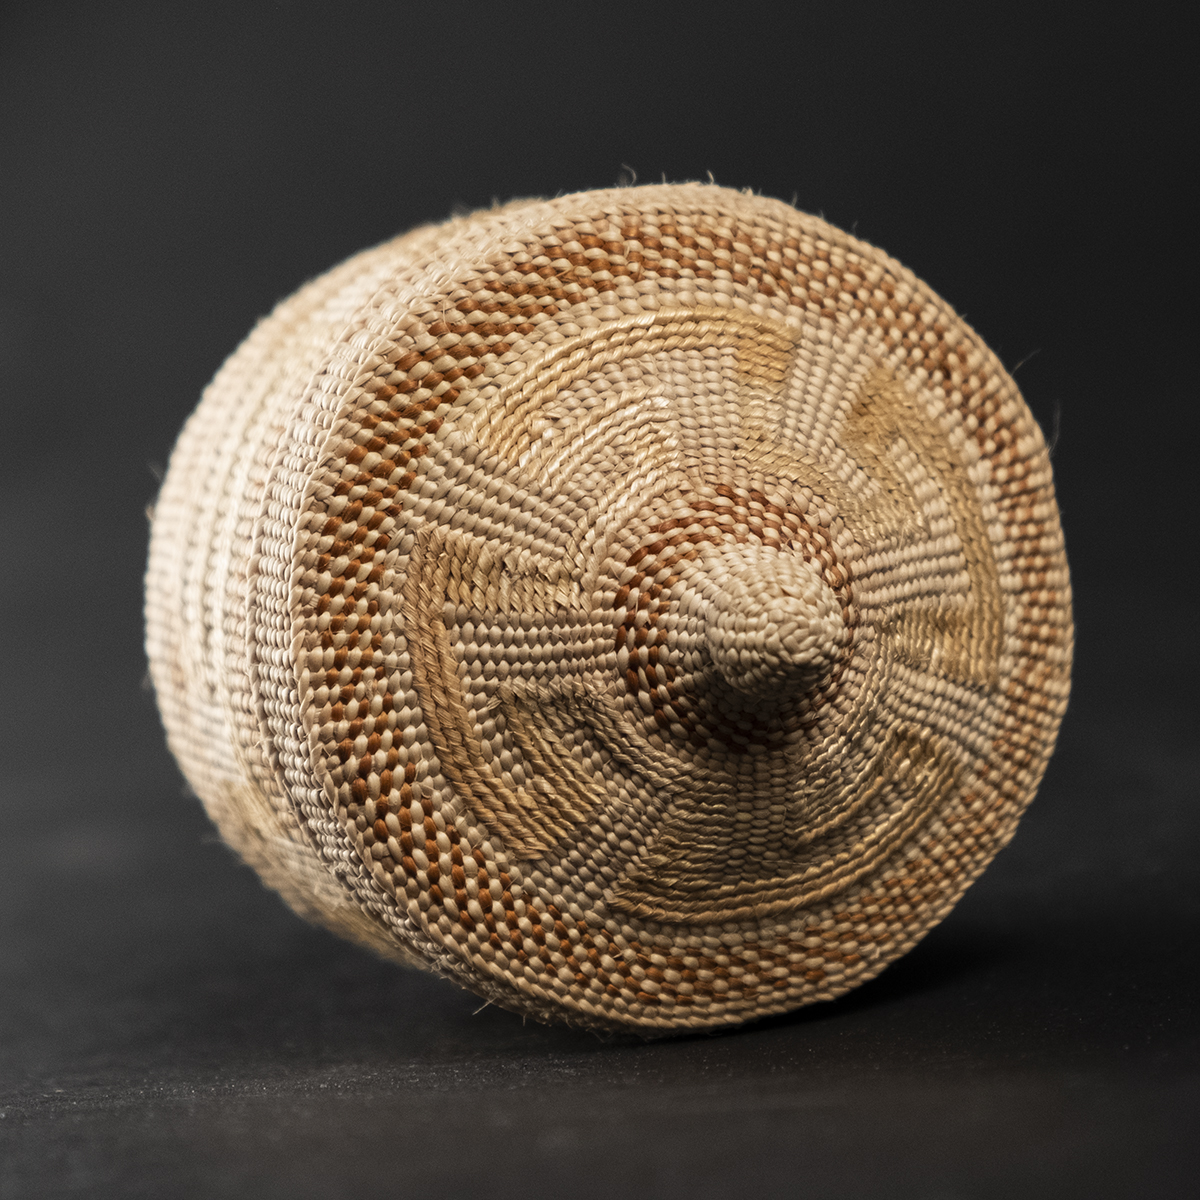
I use ancient basket and hat patterns that have been handed down by Nonny Selina. They include bird track, cresting wave, fish bone, slug trail and spider web. I also use patterns I’ve collected and adapted from museum pieces.
The bottom of the basket is made first. When the bottom is complete, it is flipped over before the walls of the basket descend down (a Haida basket is woven upside down). The reason the bottom is flipped is the bottom gets worn from uses. Also, the nice part is facing up so when you look into the basket it looks pretty. This is also a telltale sign that it is a Haida basket and not Tlingit. Another telltale sign is Tlingit baskets are woven right side up so the weaving is the opposite direction to that of the Haida basket or hat.
If I’m making an open basket (that’s a basket without a lid), the height is determined by the diameter of the bottom. It is sometimes more, but never less. I’ve used this measurement on Museum baskets, and sure enough it’s true.
Baskets and Hats
Weaving was crucial in the lives of my ancestors. When the first white men set foot on our shore of Haida Gwaii, it was noted that everyone wore spruce root hats and clothes of shredded woven cedar bark. It must have been an amazing sight.
I find it even hard to imagine what it would be like to have to weave clothes and hats for my family, as well as the household. There were mats for the walls, for privacy screens and for the floor. There were baskets for hot rock cooking, gathering berries, seaweed and clams, storing food, storing fishing hooks and for everything you can imagine. There were even children’s lunch baskets. If a child was too busy playing during mealtime his share of food was put into a small covered basket until he was ready to eat it. Every task had its own basket. For instance, a basket used for halibut was used only for halibut.
As the Haida had access to more and more goods like cooking pots, pans, dishes, buckets, etc., they didn’t need to weave as much. Also, their way of life was frowned upon by the church. So, over the years, baskets and hats were sold as curiosities to the tourists. When I was a small child the weavers of my village were very old and only producing a few small baskets and the odd berry basket. They had stopped altogether by the time I learned from Nonny. She was the last left who was actively making baskets and hats.
-Excerpts from statements by Isabel Rorick